|
Sometimes the best part of being on trail is when you get to escape the trail for a brief moment to enjoy luxuries like beer and delicious, non-freeze-dried treats that were prepared in a real kitchen. Even when you're just on a long day hike, having a hot lunch and a beer in a pint glass feels like a special treat, especially on a gray December afternoon. That's why I feel so #blessed that anytime I want I can head over to Forest Park and hike up to the Skyline Tavern, my favorite bar in the city.  Established in 1923, the Skyline Tavern has been a favorite watering hole for locals for almost 100 years. The bar was taken over in 2015 by environmentalist filmmaker Scott Ray Becker, who devotes the tavern's profits to supporting The Black Dog Ensemble, which explores environmental issues through the arts. The bar hosts regular events, including Boldly Went storytelling nights, fundraisers for organizations including Signal Fire, and lots of local music. They even host regular group hikes and trail runs that end back at the tavern where a free beer awaits you. What the bar may be most famous for, though, is the stunning view of the Tualatin Valley and the Coast Range from the back of the bar. 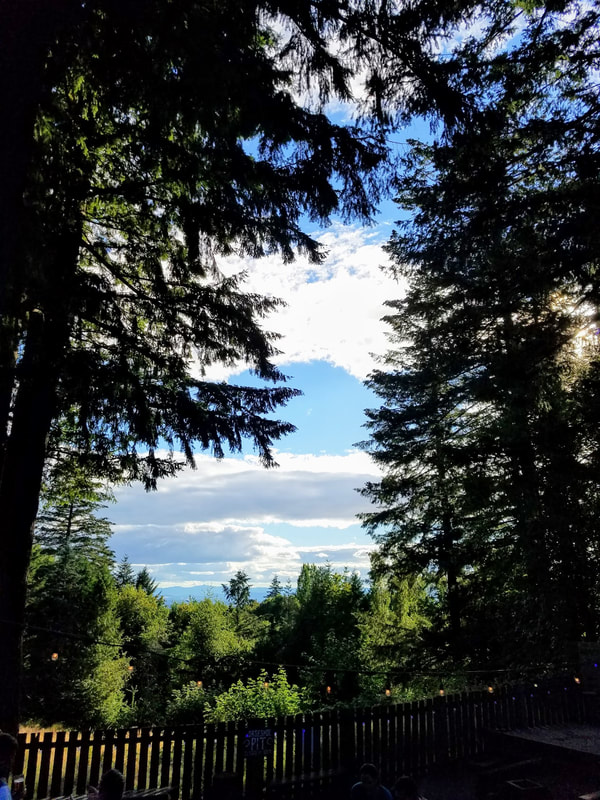 In the summer, the bar and backyard beer garden are packed with hikers, cyclists, and trail runners. It's an amazing place to spend a few hours with a group of friends, especially if you plan ahead and make a reservation for the community grill. For groups of up to 9 people, it's free to reserve. The tavern provides the charcoal, you provide the food, and it's really a great way to spend an evening.
When I'm hiking to the tavern, I'll generally park my car at the Tolinda Trailhead in Forest Park and work my way up from there. The Waterline Trail is your ultimate destination - this short side trail will spit you out directly across Skyline Blvd from the tavern. It's easy to design a lot of different hikes that all incorporate a stop at the Skyline--and very well worth it!
0 Comments
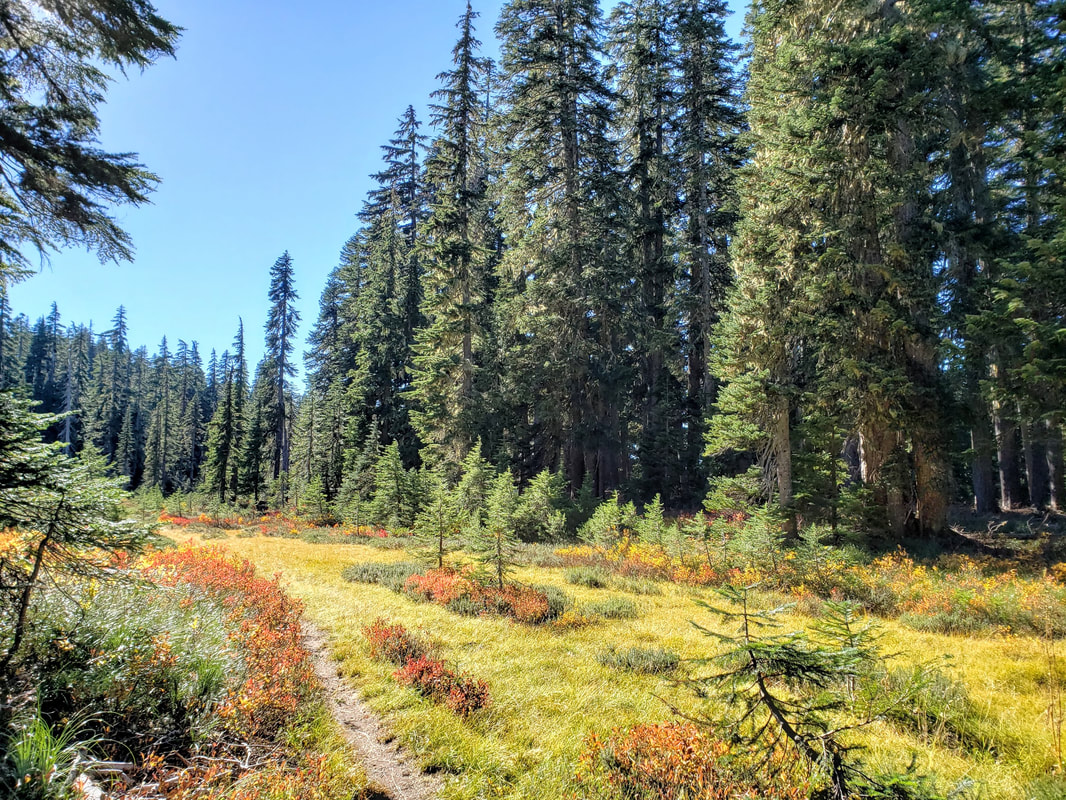 Indian Heaven Wilderness is a fairyland in the fall. A bitterly cold fairyland after the sun goes down, but a fairyland nonetheless. 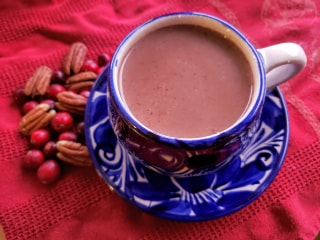 Not that there's anything wrong with warming up with whiskey, of course. But sometimes a rich, cozy, hot drink on a cold hike is all you need, and more. I don't regularly backpack in winter temperatures, but a recent trip to the Indian Heaven Wilderness was one of my coldest trips to date. Temperatures overnight were well below freezing, and plunged quickly as the sun went down. I was backpacking alone (and flask-less), so I chose what I thought might be the third best way to stay happy and warm in the backcountry: making UNBELIEVABLY good hot chocolate on my little alcohol stove. Forget the chalky packets of hot cocoa you can buy at the grocery store: this is a dry cocoa mix for chocolate lovers. Made with ground high-quality chocolate bars, this mix packs deep chocolate flavor and an indulgent calorie count, making it an ideal treat for the trail. The original recipe calls for whole milk, but I've adapted it to incorporate powdered milk to make it a backpacker-friendly concoction. You can also substitute powdered coconut milk if you are dairy-free, although the measurement of coconut milk powder may need adjusting depending on which type you are using. If you have a food processor, this mix is a breeze to make. (And I'd still argue it's worth it even if you have to chop or grate the chocolate by hand.) The mix also makes a wonderful holiday gift! Give it a try to treat both yourself and your nearest and dearest this winter. Happy trails! Backcountry Hot Chocolate Mix Adapted from Smitten Kitchen, who adapted it a little from Cook’s Illustrated Yield: Enough for 9 cups of cocoa 1/2 cup (100 g) granulated sugar 1 tbsp (8 g) cornstarch 3 oz (85 g) dark chocolate, roughly chopped 1/2 cup (40 g) cocoa powder 1/4 tsp vanilla extract (or scrape a tiny piece of a fresh vanilla bean. You're so FANCY.) 1/4 tsp kosher salt The easiest way to do this is to combine all the ingredients in a food processor and blend until powdery. And that's it! If you don’t have a food processor, you can also simply chop or grate the chocolate as finely as you can stand to do it, and then mix in the rest of the ingredients. Store the mixture in an airtight container. If you're drinking your cocoa at home (gotta sample it first, right?), heat one cup of milk in a saucepan over medium to low heat until it's steaming. (Deb notes that non-dairy milks like coconut or almond will also work here.) Add 3 tablespoons of the hot chocolate mix and whisk on the heat for a minute or so. When the mix is completely dissolved, pour into mug and enjoy! Taking that cocoa to go? Before you leave for the trail, measure out 3 tablespoons of mix for each 8 ounce-ish serving you want to have on hand. Add in 3 tablespoons of dry milk powder per serving and mix well. Put each serving into a snack-size ziploc. On trail, heat a scant cup of water until hot but not simmering. Stir in one ziploc of backcountry hot chocolate mix until the mix dissolves. Don't let it simmer - I found it useful to take the pot on and off the heat as needed. Want to add a twist? Add dashes of chile powder, cinnamon and cayenne for Mexican Hot Chocolate; use mint extract instead of vanilla (it's the ultralight way to bring along a candy cane); or make it a mocha by adding a few tablespoons of espresso powder to the original batch of mix. 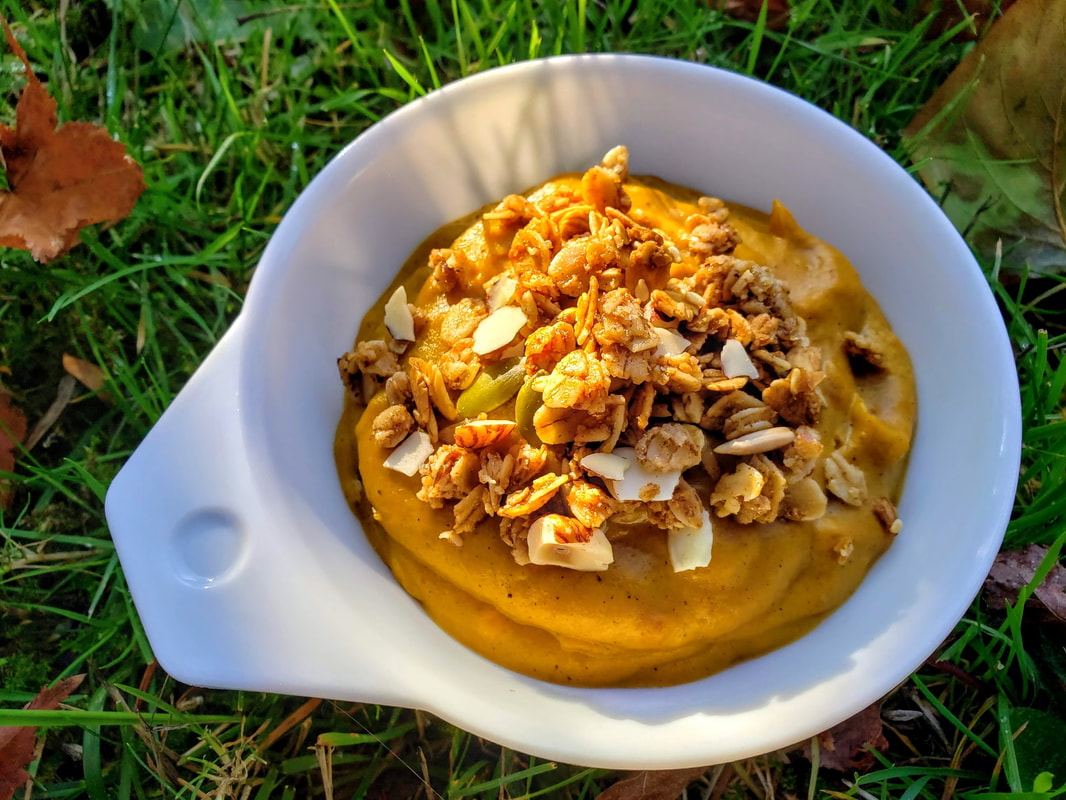 It's backcountry pumpkin pie, y'all! Thanksgiving is easily my favorite holiday. I love fall foods, spending hours in the kitchen preparing for a special meal for family and friends, and the excuse to splurge on butter, cream, and sugar. I'm ordinarily not much of a dessert person, but I love a slice of a well-made pumpkin pie on Thanksgiving. And it recently occurred to me that this dessert delight could surely be enjoyed on trail as well as at the dinner table. Earlier this fall, I acquired a copy of Chef Glenn McAllister's Recipes for Adventure. His website, BackpackingChef.com, is a resource I've been returning to again and again, and I decided it was about time to check out his printed cookbook as well. One recipe that immediately caught my eye was for Pumpkin Pie Bark. Chef Glenn suggests rehydrating the bark into a simple pudding, which sounded tasty enough, but what I really wanted was to recreate the flavor of a real pumpkin pie in a backpacker-friendly way. 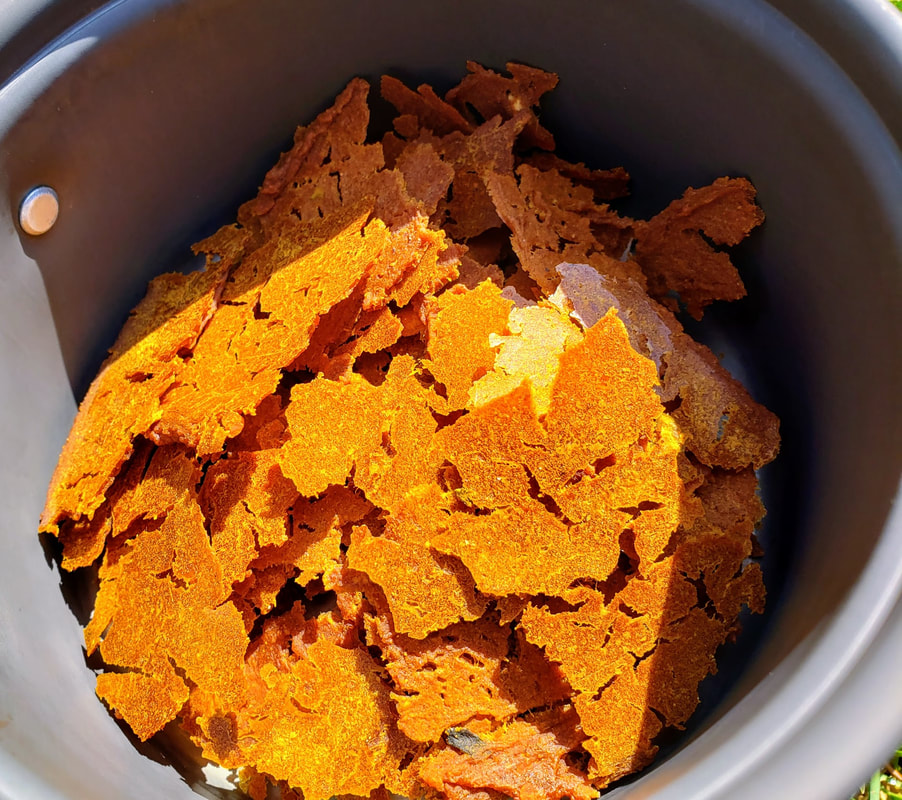 Pumpkin pie bark, ready to be rehydrated. This recipe takes a little work, both at home and in camp, but is very well worth it, especially if you're hiking around the holidays and want to treat yourself and your hiking partners to an unexpected treat. A stove that has an adjustable flame is essential here to ensure you don't scorch the custard while it thickens. See below for the recipe. Happy Thanksgiving, everyone!  Backcountry Pumpkin Pie
Note 1: Follow the link below for Chef Glenn's recipe for pumpkin pie bark. I made two tweaks: First, I roasted my own squash (I prefer kabocha squash to pie pumpkin) and then pureed it. I also found the spice level to be a tad high. I'd reduce to 1 1/2 tsp of pie spice per 2 cups of pumpkin. I also added in a grating of fresh nutmeg. This recipe makes 1 generous serving of pumpkin custard. Note 2: To make your life easier on trail, you could throw the pumpkin bark in the food processor to grind it up and ensure a smoother result. Ingredients: 1/2 cup pumpkin bark 1 TBSP + 2 tsp powdered whole milk (I like Peak Dry Whole Milk Powder) 1 TBSP powdered eggs (I've been impressed by OvaEasy Whole Egg Crystals) 2 tsp sugar 3/4 cup water small handful granola of choice At home: combine the dry ingredients in a ziploc. Make sure you have a 3/4 cup measuring line marked on your trusty Talenti cup (or otherwise can measure approximately this much water). To prepare the custard: start by combining the dry ingredients with the water. If you have a watertight screw top container, it's helpful to be able to vigorously shake the custard mix to help get rid of any lumps. Otherwise a little elbow grease and your spork should do the trick. When the egg and milk powders have dissolved, pour the mixture into your cooking pot and cook over a low flame, stirring constantly, until the custard thickens. Add a splash of water if it gets too thick. Turn off your stove and let the custard cool. Top with granola and enjoy your backcountry pumpkin pie! 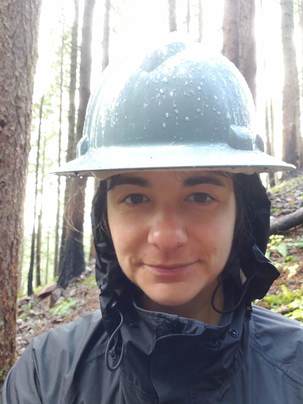 Your humble narrator proudly sporting a loaner PCTA hard hat. Last weekend I finally accomplished one of the more meaningful hiking goals I set for myself this year: to participate in at least one day of trail maintenance with the Pacific Crest Trail Association. I happened to choose a work party that provided a perfect introduction to trail maintenance because our goal was simple but essential: to repair the basic tread of the trail. We dug out large rocks, altered the slope and width of the trail as necessary, and hauled heavy bags of dirt up to the trail to fill in the giant holes left by the rocks we'd removed. I was also thrilled to learn essential techniques like the "butt 'n boot": you sit on your butt, put your boots on the rock, and use the strength in your quads to move exceptionally large rocks off the trail. Aside from the rain, (it was late October in Oregon - I knew what I was signing up for) it really was a fantastic day. We had a great crew working together and it was deeply satisfying to observe the difference in the condition of the trail and to know that our sweat and strain helped protect the trail and improve the experience of hikers for many years to come. 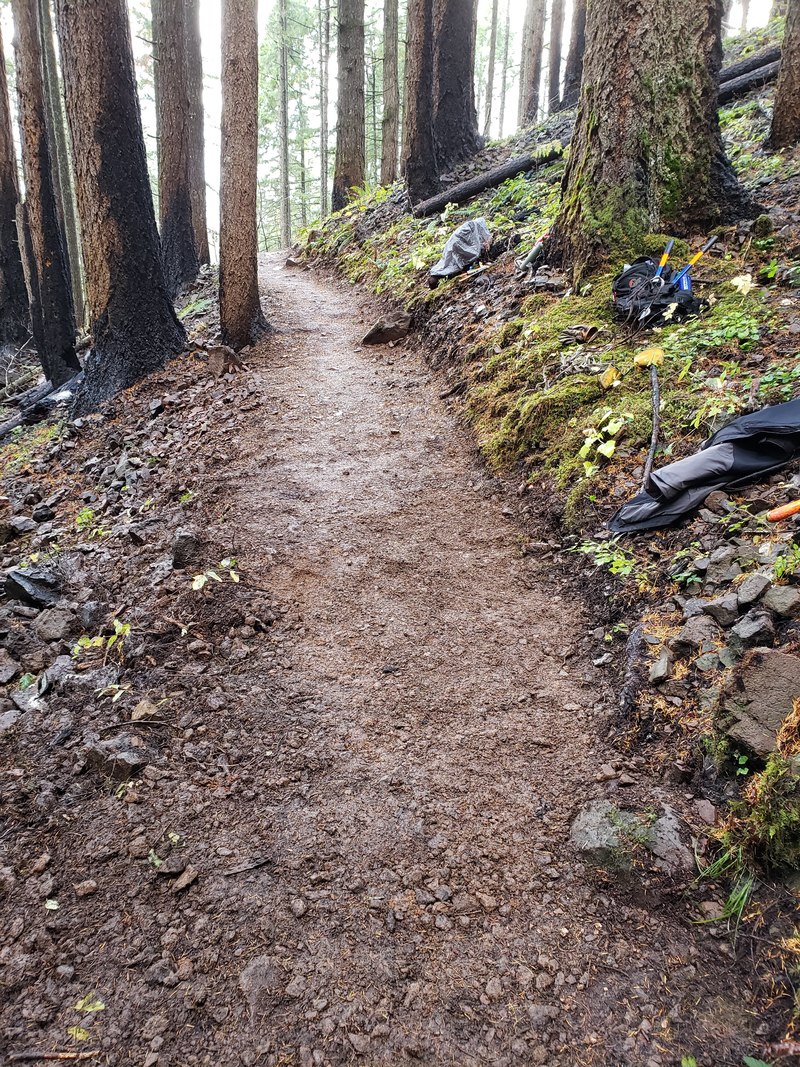 I failed to get "before" pictures, but I think it goes without saying that this photo depicts a gorgeously maintained section of trail. I was also excited to use my PCT work day as an opportunity to try a new version of a backpacking lunch recipe I've been refining on my past few overnight trips. It's a pretty simple meal that does not require a stove, but packs complex carbs, healthy protein, and flavorful dehydrated veggies into a convenient handheld package that really fuels your hike--or your fourth butt 'n boot of the day, as the case may be. 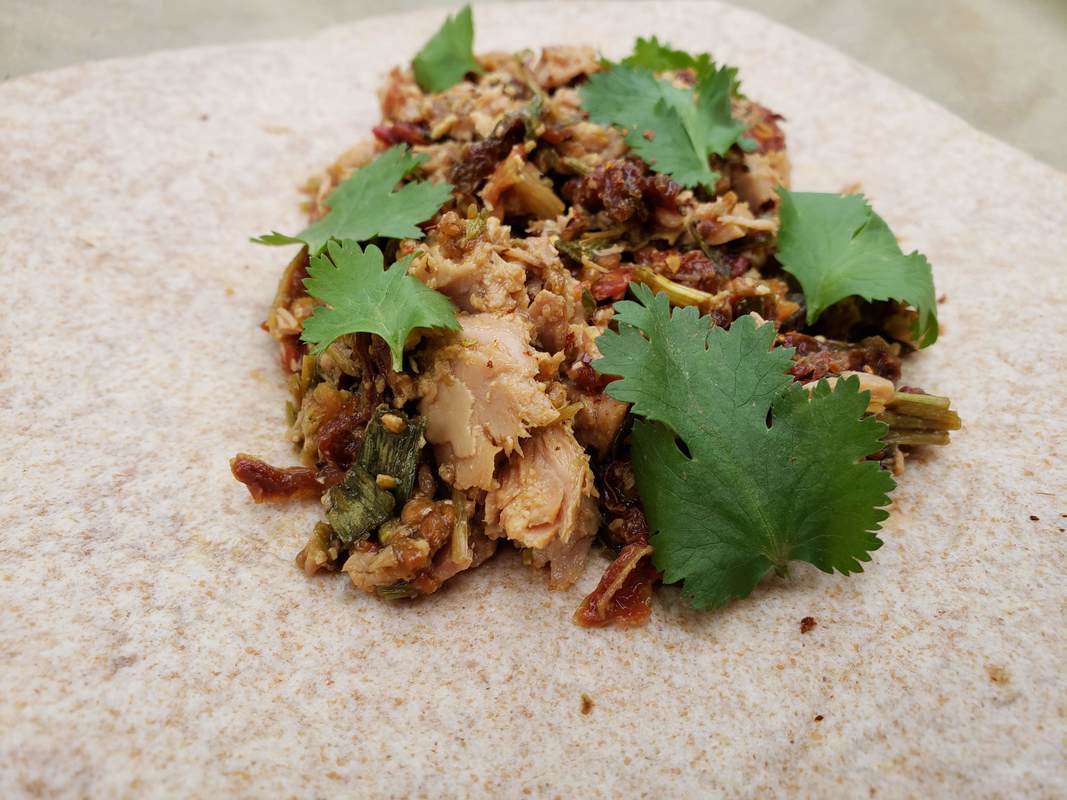 If you're on a day hike or the first day of a backpacking trip, fresh herbs like cilantro, parsley, basil, or dill are a great way to add fresh flavor (and additional nutrition) to this tasty wrap. Tomato & Tuna Salad Wrap 1 TBSP dehydrated leeks, shallots or onions 3 TBSP dehydrated tomatoes 1 tsp dried parsley 1/2 tsp dried oregano 1/4 tsp granulated garlic 1/4 tsp each kosher salt + black pepper 1 packet True Lemon 3 oz pouch of tuna 1 packet mayonnaise or cream cheese 1 whole wheat tortilla Optional: fresh herbs Combine the dehydrated leeks, tomatoes, parsley, True Lemon, and spices in a snack-size ziploc bag. Pack this along with the tortilla, tuna, and creamy topping of your choice in a gallon-size ziploc. About an hour before you want to eat lunch, rehydrate the dried veggies, either in the pouch if you are confident of the seal, or in your favorite rehydration vessel. When ready to eat, mix in the tuna. Gracefully schmear the cream cheese or mayo on the wrap and top with the tomato-tuna mixture. If you're on a day hike or the first day of a backpacking trip and are feeling fancy, add some fresh herbs! Parsley, dill, basil, or cilantro would all go well with these flavors. Close up your wrap and enjoy. 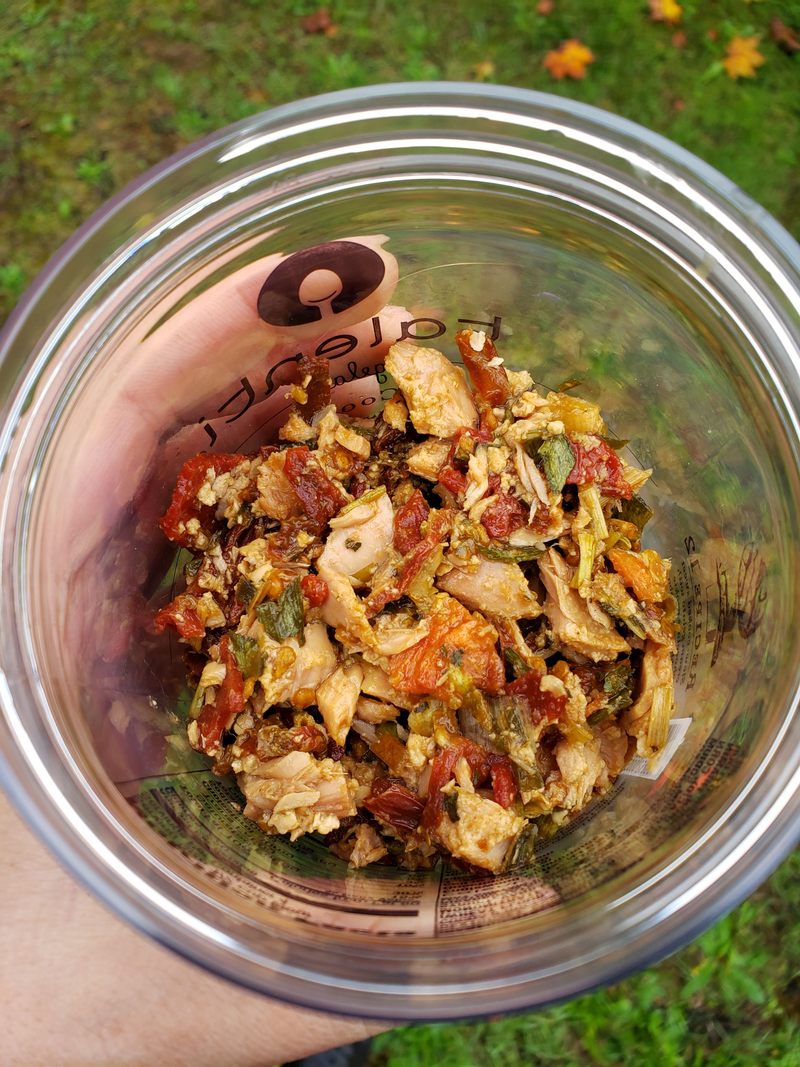 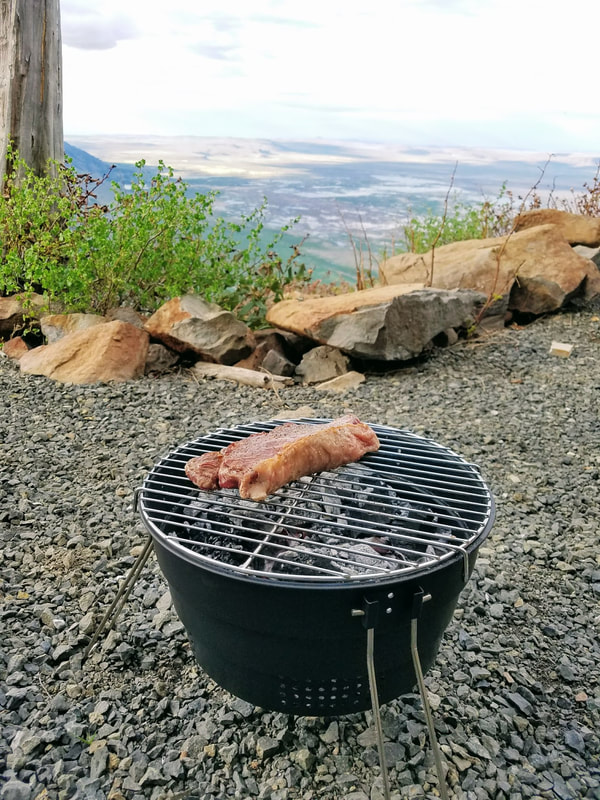 I struggled with extreme cold and very windy conditions, but still managed to get this grill cooking. If you are very, very lucky, you have one of those friends who always buys the best gifts. They find something you have never even heard of before, but is exactly what you needed, even if you didn't know it yet. As you may have guessed, I have one of these friends. A while back, she bought me a Pop Up Grill, which stows in a conveniently tiny, easily portable bag. You can cook on charcoal or use it as a grate over a fire if you don't use the lower levels of the grill. It's even designed to work in snowy conditions if you're of the winter camping persuasion. 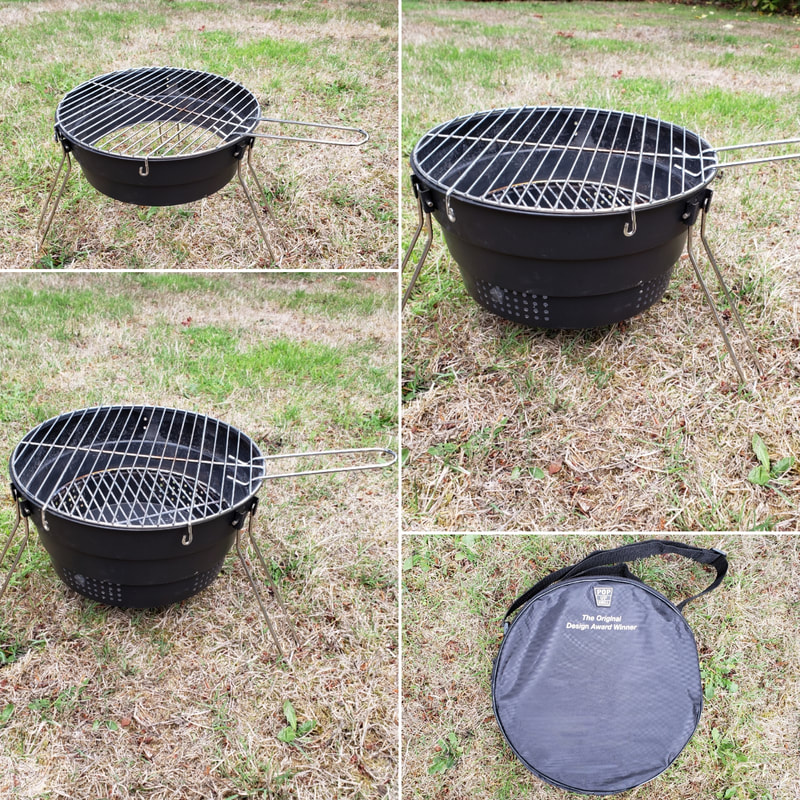 It's a really convenient little thing, ideal for camping in developed campgrounds that doesn't have grills, and I'd even consider bringing it backpacking if I had an easy hike to a base camp for a few days. If I ever live out my #vanlife dreams, this grill definitely is coming with me. So far I have only used it once, when I stayed at the incredible Fremont Point Cabin in southern Oregon earlier this year. I knew that the cabin didn't have a grill on site, so I was excited to test out my new toy for the first time. 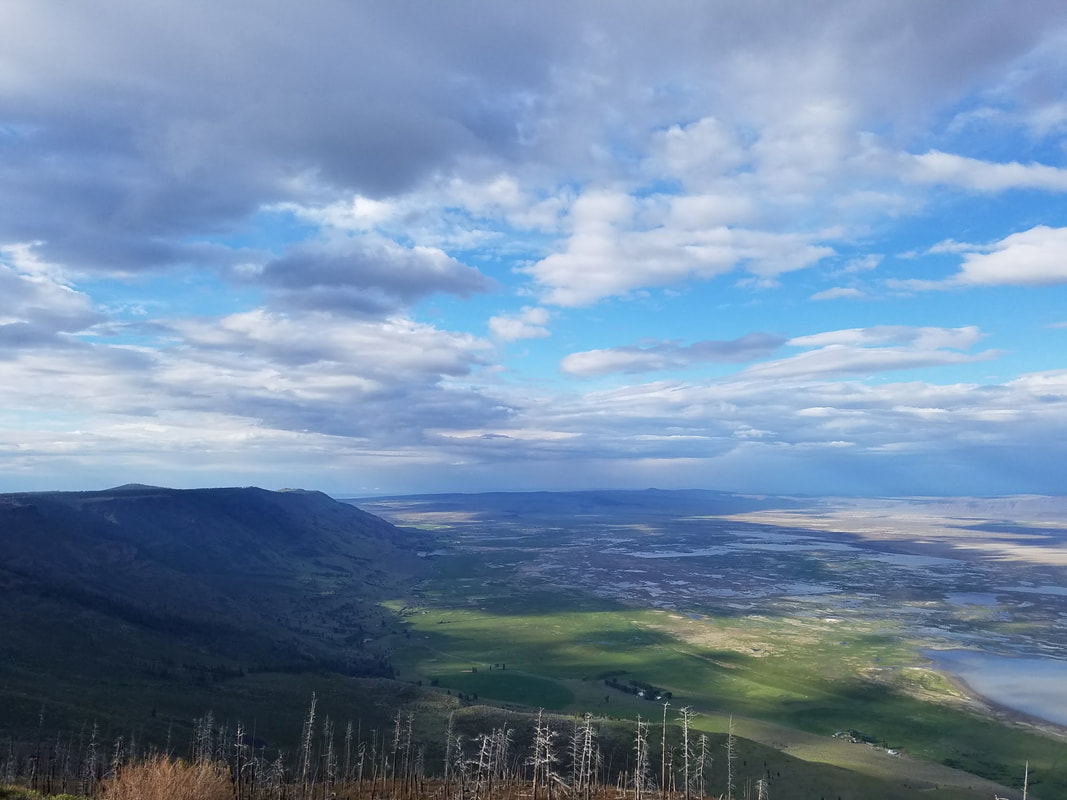 This is the view from the cabin's huge deck. I know, right? For its first test, I chose to grill a simple strip steak that I was going to enjoy with a tasty pea and pickled carrot salsa verde from my beloved Six Seasons cookbook. I was cooking for one, and this was a perfect post-hike dinner.  New York strip with pea and pickled carrot salsa verde, freshly prepared on my trusty Pop Up Grill. I chose this recipe to share because it's such a great fit for camping menus--kind of a condiment and side dish in one. Most of the dish can be prepped ahead of time and stashed in the cooler. If you're feeling fancy, the mint and lemon juice would be mixed in at the last minute, but if you don't care to mess knife work and lemon juicing in camp (and don't mind some discoloration), the entire dish can be assembled at home. Either way, it's a colorful, healthy, and very flavorful accent next to everyone's favorite things to grill in the great outdoors: steaks, fish, chicken, pork chops, you name it.
English Pea and Pickled Carrot Salsa Verde Adapted from Six Seasons by Joshua McFadden 2 lbs English peas in their pods, shelled, or 2 cups frozen peas if you must. 1 small bunch flat leaf parsley 1/4 cup roughly chopped mint leaves 3 scallions, thinly sliced on the bias. 1 cup thinly sliced pickled carrots (click the link for a recipe, or use store bought) 1 lemon, zested and reserved for its juice 2 TBSP capers, ideally salt packed, rinsed, drained and roughly chopped Extra virgin olive oil, kosher salt & freshly ground pepper to taste. At Home: Bring a heavily salted pot of water to a boil. Drop in the peas and boil for 30 seconds max if they are tender (or you're using frozen), or a bit longer if they are starchy. Drain and run under cold water to stop the cooking. Drain and dry peas. Roughly chop the parsley leaves and small stems. If you like, you can also finely mince the thicker stems (as you would chives). Combine the parlsey, scallions, pickled carrots, lemon zest, capers, and peas in a medium bowl. Season with pepper to taste and mix in 1/3 to 1/2 cup olive oil. (I would start on the lower side and add more according to your taste.) Pack: the salsa verde, your zested lemon, mint leaves and a citrus reamer if you like. (This is assuming that kosher salt, pepper, and olive oil are already in your camping kit.) In Camp: When ready to serve, chop the mint leaves and mix into the salsa verde with about 2 tablespoons of lemon juice and season to taste with salt. Taste and adjust with more salt, pepper, oil, or lemon juice as needed. Serves 4 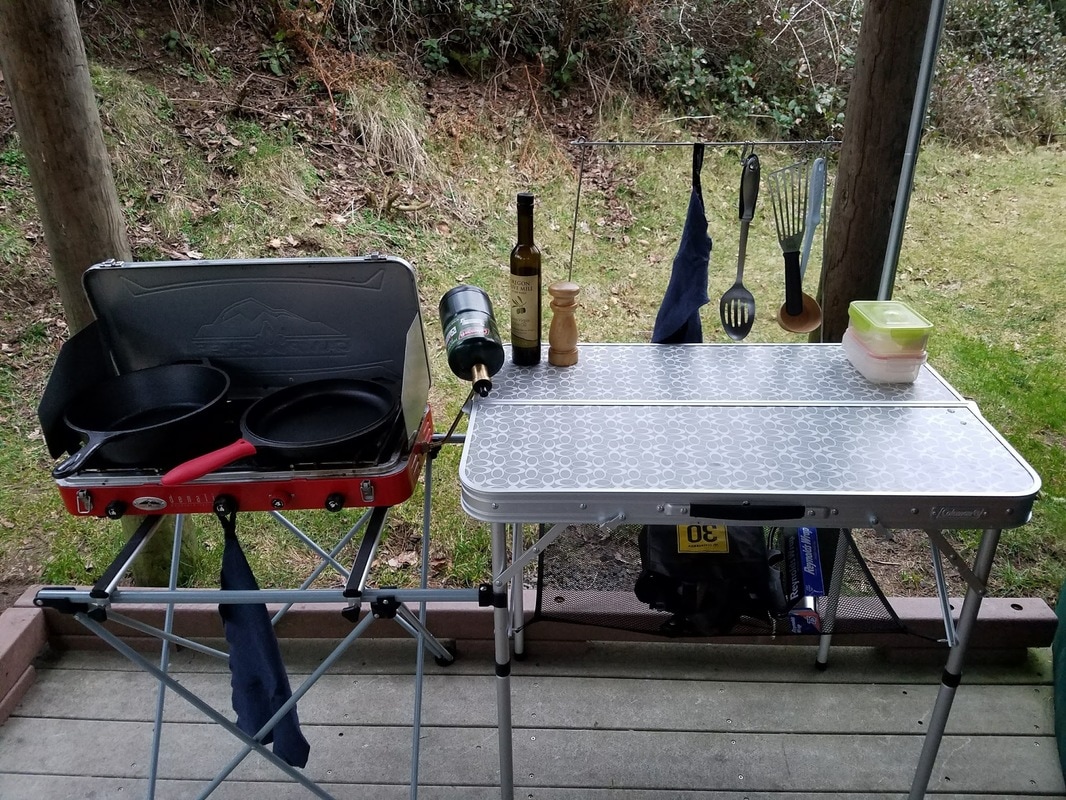 We recently took a much-needed car camping trip to Fort Stevens State Park, where I got to try out my new camp kitchen set up. It sets up very quickly, and it's so convenient having this well-organized space right next to my stove. I'm really pleased with it, and look forward to getting to know my new gear on future trips. Inspired by the park's location on the Oregon coast, we wanted a salmon-centric recipe, one I could cook on the stove, which had a roof over it, rather than on the grill in case of rain. This brightly flavored salmon chowder came together so easily in camp, and could easily be scaled up to serve to a group. It's just the thing to dive into on a chilly evening after a long day of hiking in the Pacific Northwest. 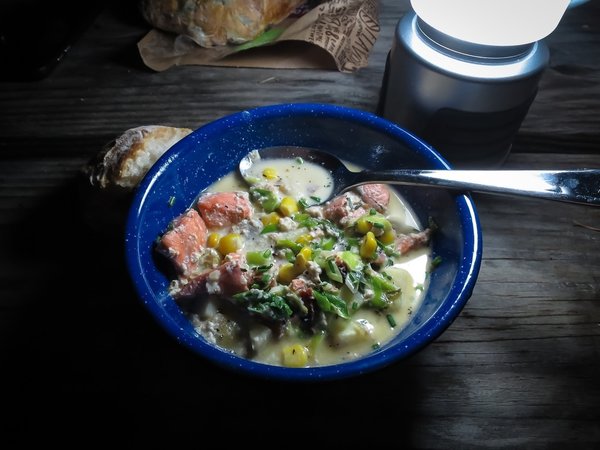 Salmon Chowder
Serves two hungry hikers or three with lighter appetites Ingredients: 4 oz red potatoes 4 oz sliced bacon, cut into 1/4-inch strips 1 bunch scallions, sliced on the bias 1/2 cup sweet corn kernesl 2 garlic cloves, minced 1/2 tsp chopped fresh thyme or 1/4 tsp dried 1 bay leaf pinch red pepper flakes 1 1/2 cups whole milk 1/3 cup cream 3/4 lb salmon fillet kosher salt and black pepper to taste zest of half a lemon Fresh chives, finely chopped, to garnish At home: Cut potatoes into 1/2 inch cubes, then cook in simmering salted water until nearly tender, 8-10 minutes. Drain, cool, and move to a water-tight container. Remove skin from salmon and cut fish into 1-inch pieces. Combine salmon with cooled potatoes and refrigerate. Combine sliced scallions, corn, garlic, thyme, bay leaf, and red pepper flakes in a small water-tight container. Measure milk and cream and combine in a water-tight container. Pack the lemon and a zester, plus a stash of salt and pepper. In camp: Cook bacon in a heavy pot, stirring, until crisp. Transfer to paper towels to drain with a slotted spoon. Add scallion and herb mixture to the pot over moderately low heat and cook, stirring occasionally, until vegetables are tender, about 5 minutes. Add milk mixture and bring to a simmer. Reduce heat, then add potatoes, salmon, bacon, s+p, and lemon zest and cook, stirring occasionally, until salmon is nearly cooked through. Adjust seasonings as necessary - feel free to add a splash of lemon juice if it suits you. Ladle the chowder into bowls and serve with crusty bread and, if you are in NW Oregon, a crisp, refreshing beer from the Fort George brewery. Recipe adapted from Gourmet magazine. Pizza. Nachos. Pizza. Cheeseburgers. Pizza. Beer beer beer beer BEER! In June 2012, I went on my first long backpacking trip, and this was a regular refrain in my head as I hiked. I was surrounded by indescribable beauty in Yosemite National Park, but at least some of the time, all I could think about was getting to eat REAL FOOD when I returned to civilization. 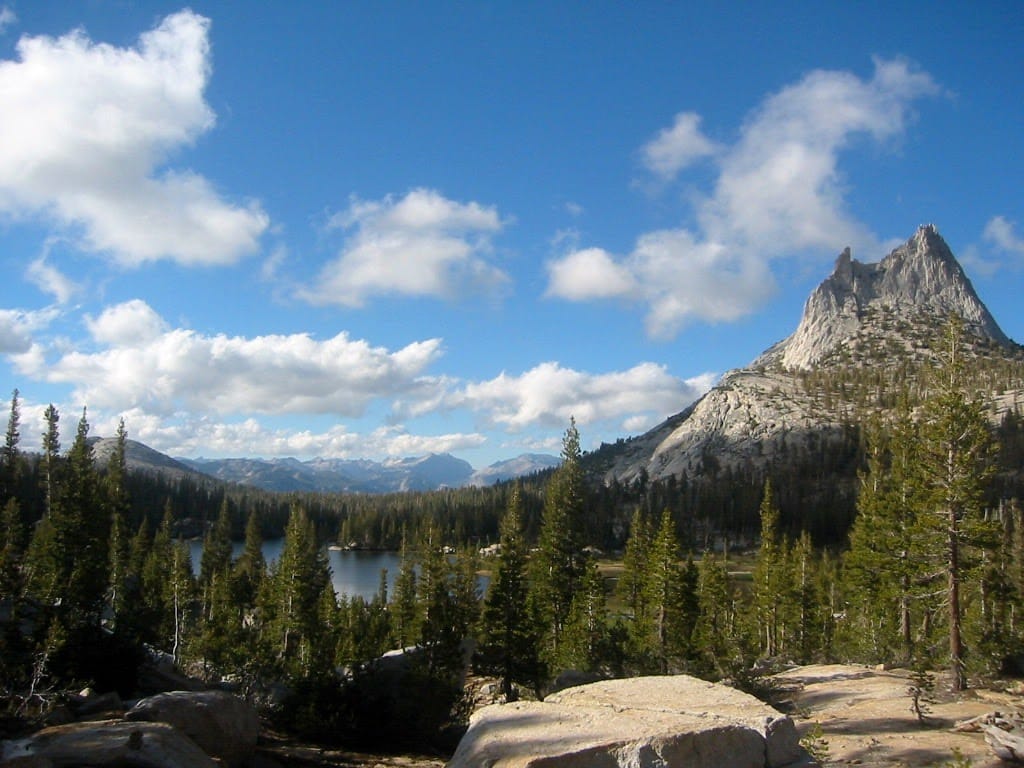 Dinner every night on the trail was healthy, but very dull: a mishmash of dehydrated vegetables, dehydrated potato or minute rice, and sometimes a can of smoked mackerel or oysters when I wanted to treat myself. Lunch consisted mostly of nutrition bars. I was taking in the macronutrients I needed to power through a lot of tough hiking, but I never once felt satisfied or truly nourished. Fast forward to August of 2016, when my boyfriend and I spent five days hiking in the Eagle Cap Wilderness. This trip was one night longer than my Yosemite hike, but I didn't spend a single second of the trip thinking about my post-hike dinner, or even my post-hike beer. I had carefully planned a varied and tempting menu that included, for example, homemade flank steak jerky for snacks, a rich-tasting sweet potato puree with granola and dried fruit for breakfast, and a dinner of coconut curry rice noodles with albacore tuna and veggies. 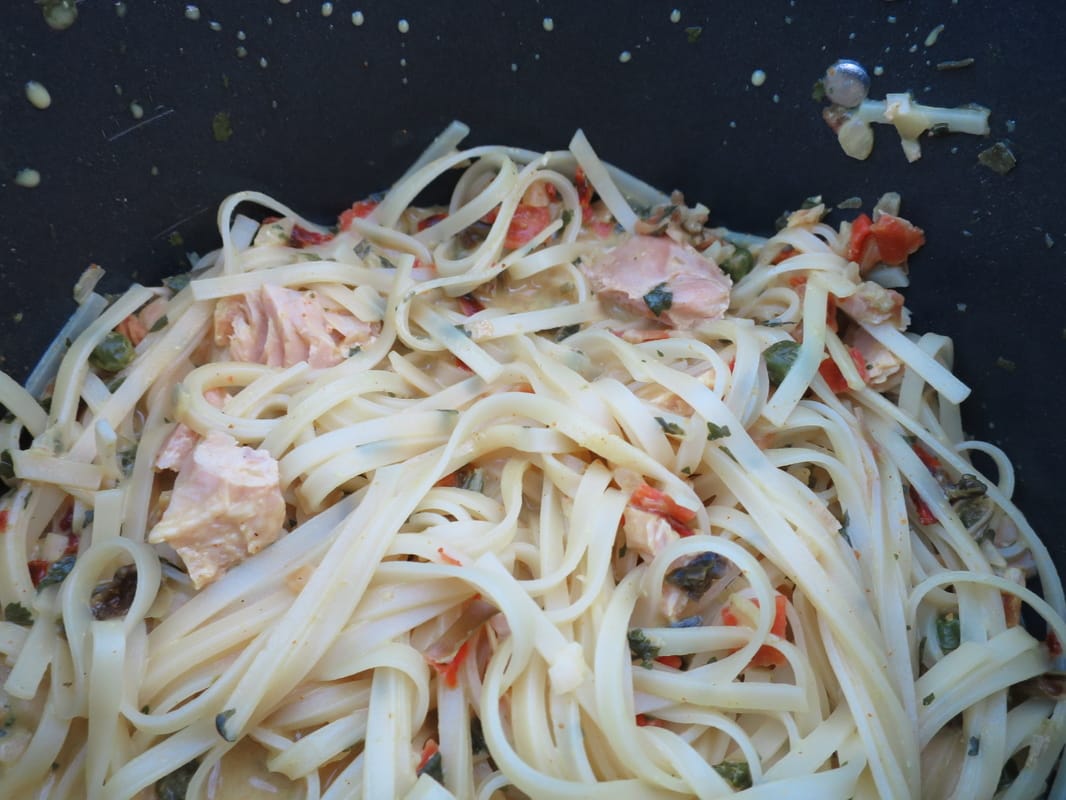 Did it take some extra work? Oh, yes. But it was also beyond worth it, because those excellent meals absolutely played a role in making this my most enjoyable trip to date.
That's why I'm starting this website: to share recipes and techniques I've learned for eating well in the backcountry (and while car camping, too) as well as to push myself to keep learning and experimenting with new ingredients and new meal ideas. My first recipe posts will go up in January. Until then, eat well and go for a hike! |
AboutPeak Provisions is a website dedicated to eating well in the backcountry. Archives
December 2018
Categories |
 RSS Feed